I'm all swept up at the moment in a house move that has come to a stand still, however, that can't stop me from planning for the new look of the new house.
Dream catchers seem to be a big thing at the moment and I've been dying to make one for little Elsie's room, so here is my version in a nice DIY blog... Although, I'm so pleased with the results I may just have to keep this for myself!
I think this would make a fabulous gift, a lovely Christmas decoration, or be perfect for a wedding... The possibilities are endless.

So here's what you'll need.
(I picked my doily up from a vintage fair a while back, and the rest of my
supplies came from Hobbycraft)

The first step is super easy, but takes some waiting for the glue to dry,
simply paint the mod podge onto one side of the doily.
Once dry, repeat on the other side.
After each coat ensure the doily is sat
in the shape you want it to be at the end as this will fix the shape.

(you could dip the doily into mod podge to speed up the process, however I was wary that this may lead to the it pooling between the doily holes which I wanted to avoid.)
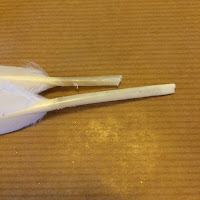
On the second coat, I also took the opportunity to 'glitter dip' the feathers.
Simply paint your feathers with mod podge and dip them into the pot of glitter.
You may wish to try filling a dish with glitter and lying the feathers flat into this if you don't want the feathers to split.


Once everything is dry you are now ready to assemble.
Find the centre point at the top of the doily and feed your ribbon through to the back, then secure it using a needle and thread.
You could tie a knot here, but I do like that the stitch keeps the ribbon flat and more control over the way the ribbon hangs.


At this point I decide that the doily might need sprucing up a bit, I did consider adding beads, but I had the glitter and the mod lodge out so thought I may as well make the most of the mess! I just pasted the edges, before carefully sprinkling glitter over the top.

Now cut your ribbons to the size you want. Remember, you can always shorten if needed later, but you can make them longer, so if you're not sure, go a little longer, then take away.
I then trimmed all my feather 'stems' to an even size and filled them with mod podge before inserting the ribbon side the stem. Again, I was trying to avoid knots here.
I decided to add beads to the top of the feathers for a nicer finish.


I then tied a knot at the same point of each of the feather ribbons and added another gold bead for extra detail.

The other ribbons were super easy, I just tied a knot in the end and threaded beads on.

You should now have all these parts ready to assemble...

Using the same method as for the ribbon loop, feed the ribbon through the doily holes to the back and again, secure into place using a stitch.
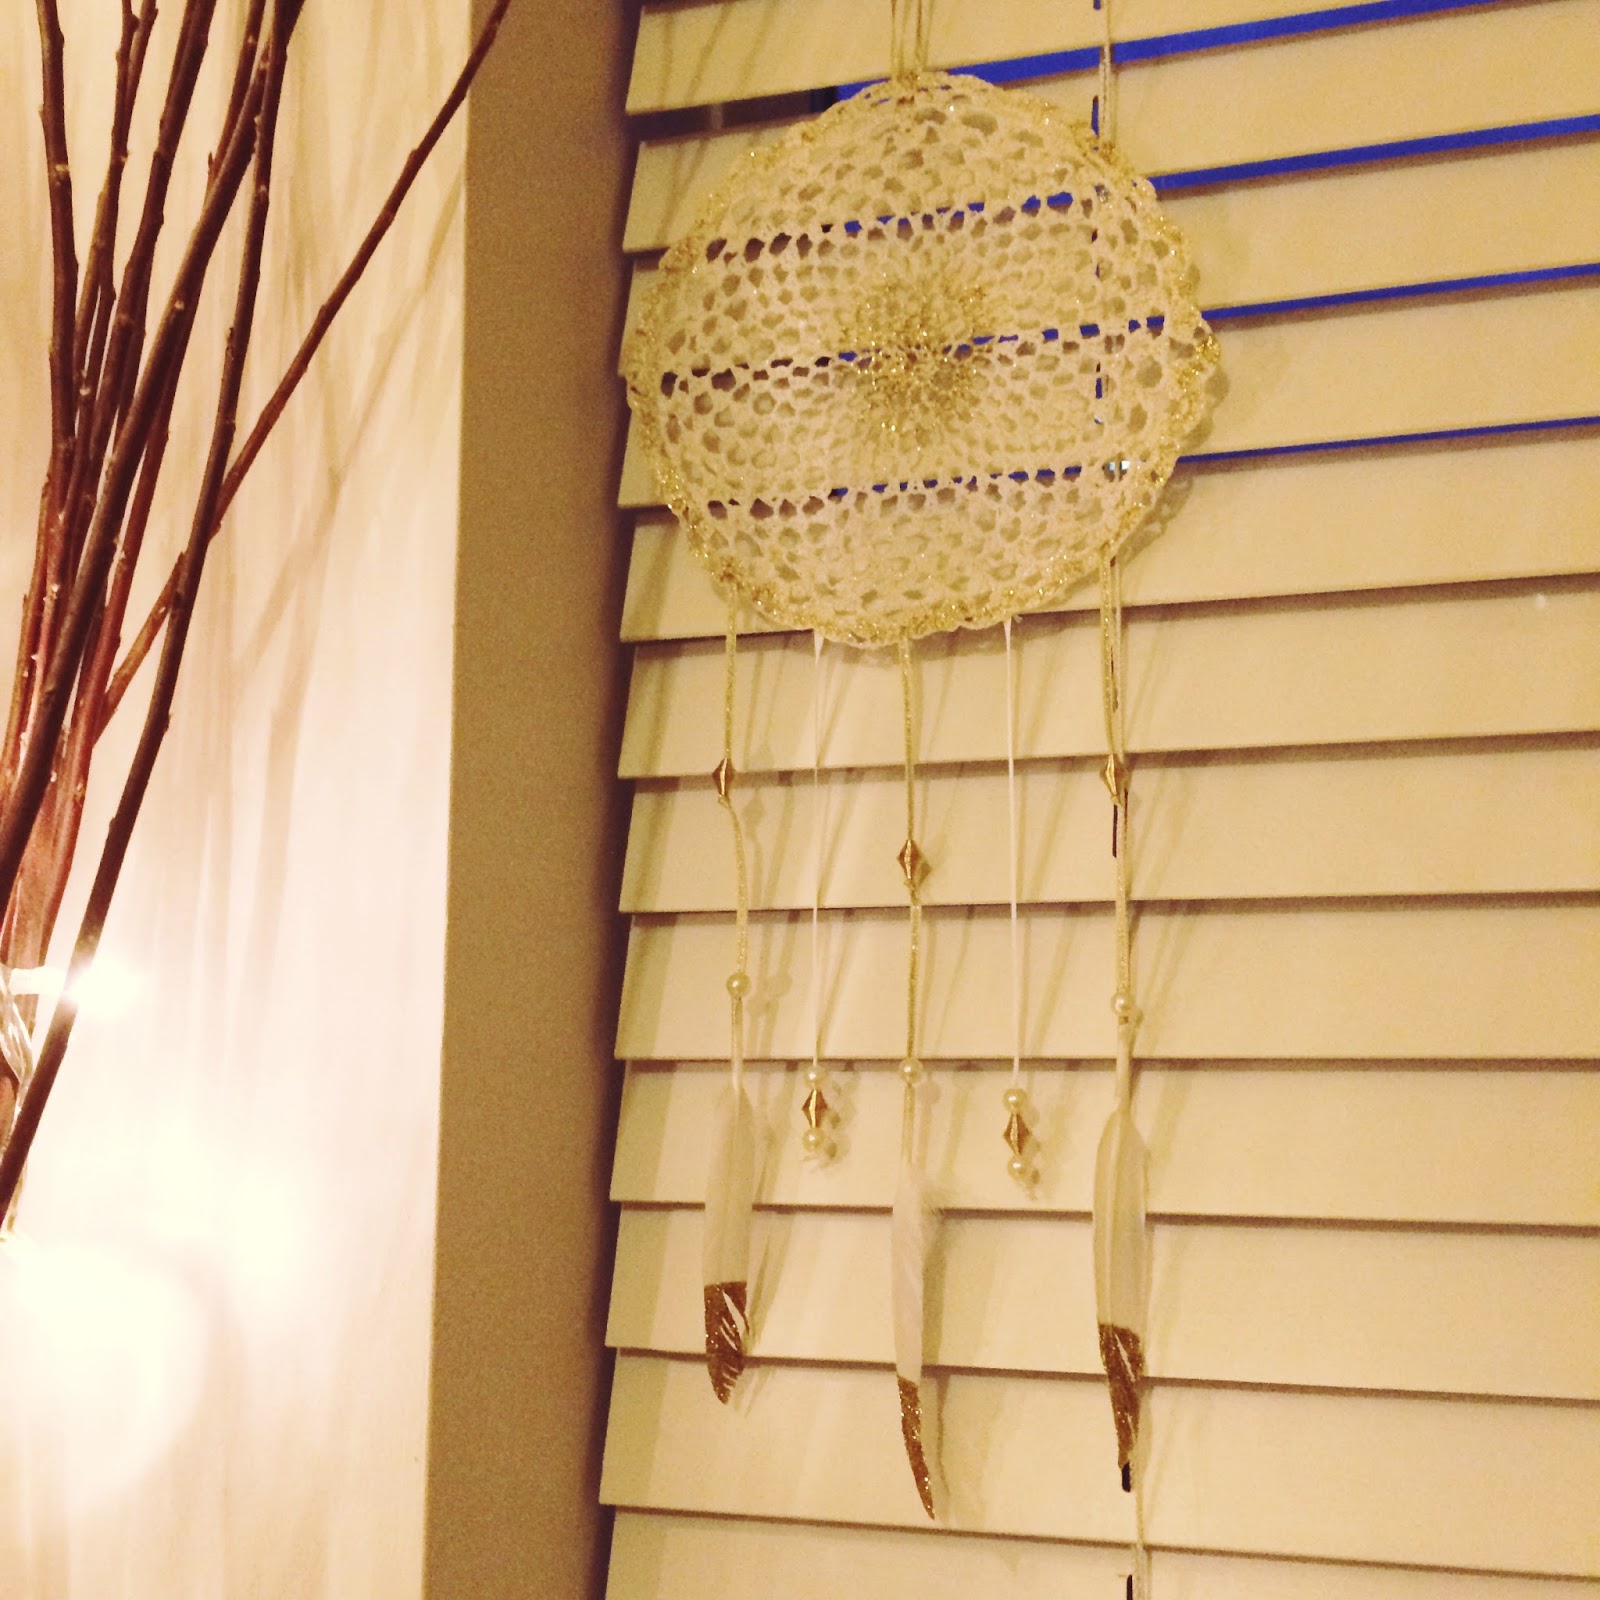
Make sure your ribbons all fall to even lengths, not only for aesthetics, but also for balance.


And thats it, simple, yet gorgeous! I think you could have some real fun with this, I may steal this one for me, but make a fun hot pink one next for my little lady!
Hope you enjoy, and I'd love to see if you have a go.
Instagrammers, hashtag #windupdream or please tag me in your creations, I would love it!
Thanks for stopping by,
Charlotte
xx
Now if you'll excuse me, I've some glitter to clean up!
No comments:
Post a Comment